Quick Answer Box
Best Cooking Method: Low & Slow (Slow Cooker or Dutch Oven)
Key Temperature: 205°F (96°C) internal temp for full collagen breakdown
Cook Time: 8 hours Low / 4 hours High
Best Wine Pairing: Cabernet Sauvignon or Shiraz (High tannins cut the fat)
The Butcher’s Guide: Trimming the “Silver Skin”
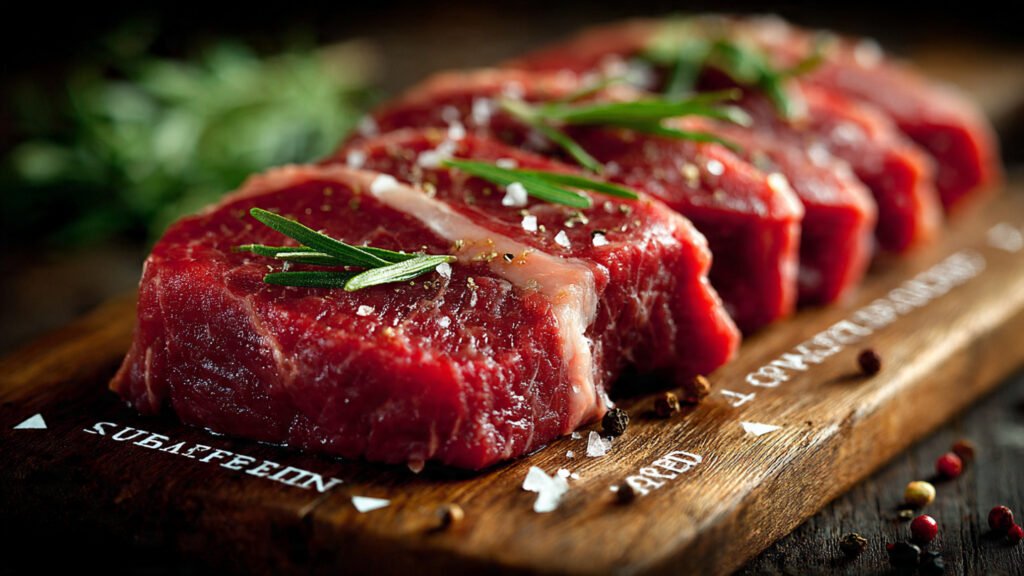
Left to right: Untrimmed cheek with silver skin, partially trimmed, properly trimmed with fat intact
Beef cheek recipes transform one of the most underutilized cuts into restaurant-quality dishes, but before you start cooking, preparation is everything. The silver skin—that thin, silvery membrane running through the meat—is your enemy in the kitchen.
Here’s the critical difference:
| Component | Treatment | Reason |
|---|---|---|
| Silver Skin | Remove completely | Never melts; tightens like a rubber band during cooking, creating a chewy texture |
| Fat | Keep some on | Renders into liquid fat during cooking, creating rich, luxurious flavor and texture |
| Connective Tissue | Some okay | Will convert to gelatin at proper temperatures |
The silver skin won’t break down during cooking, no matter how long you cook it. Think of it like a rubber band—heat only makes it contract more. By contrast, the fat is your secret weapon. As it renders during those long, slow hours, it becomes the basis for an incredibly silky sauce.
Pro tip from the butcher: Ask your butcher to do this for you. Most quality butchers will trim it while you wait, saving you 10 minutes of tedious knife work.
Why Your Beef Cheeks Are Tough (And How to Fix It)
The science behind beef cheek recipes is where magic happens. Most home cooks fail because they don’t understand “The Stall Phase.”
The Stall Phase Explained
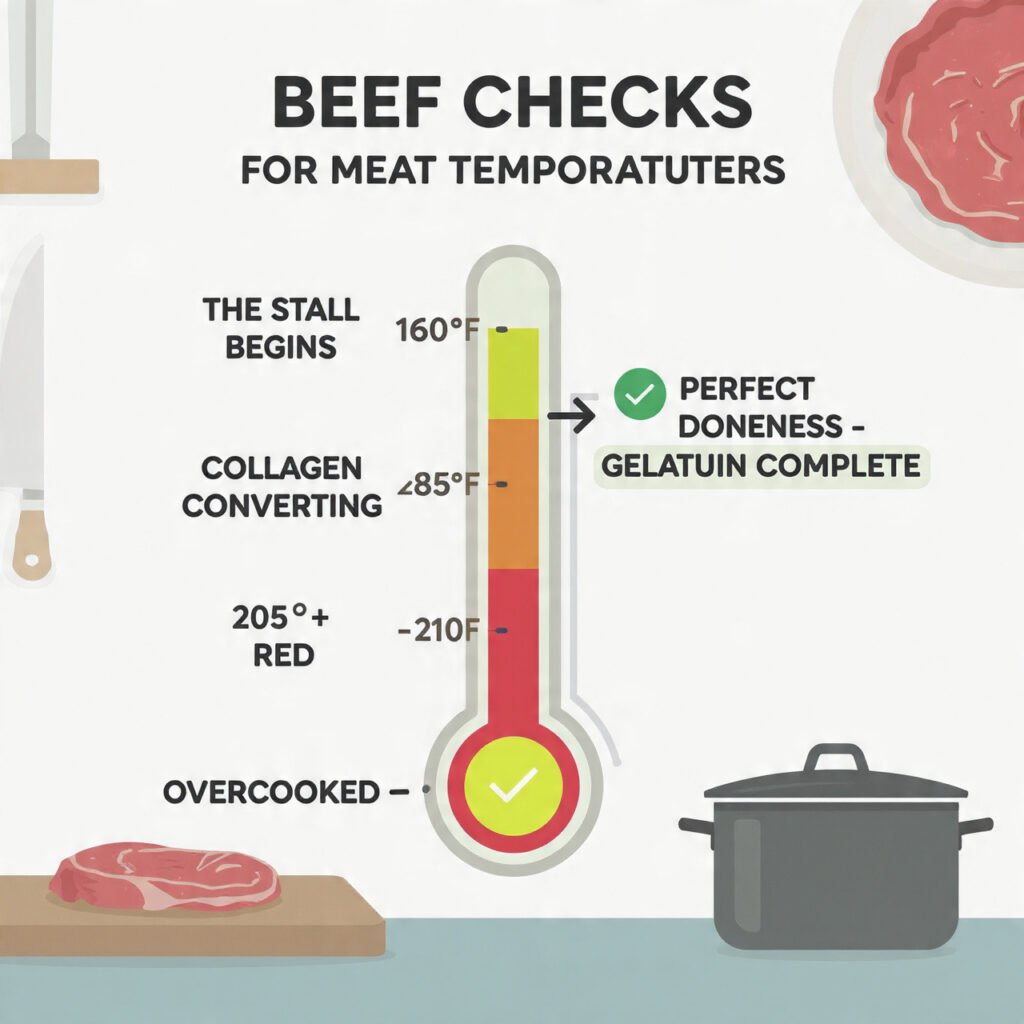
Temperature zones: The 205°F sweet spot where collagen converts to gelatin.
When beef cheeks reach around 160°F (71°C), something odd happens: the temperature stops rising. This isn’t a problem—it’s actually the most important part of the process. Your meat is sweating. The collagen (a protein that makes meat tough) is beginning to break down, and this process consumes tremendous energy in the form of heat.
This is when impatient cooks increase the heat. Don’t.
Cranking up the temperature tightens the muscle fibers and drives out moisture. Instead, the real cooking magic happens between 190°F and 205°F (88–96°C)—a slower, more delicate zone where collagen converts to gelatin. Gelatin is what makes perfectly cooked beef cheeks jiggle slightly and collapse into tender strands when you cut them.
The 205°F Rule for Beef Cheek Internal Temp
Here’s the non-negotiable number: 205°F (96°C) internal temperature. This is the threshold where collagen has almost completely converted to gelatin, giving you that restaurant-quality texture. A meat thermometer isn’t optional—it’s essential for beef cheek recipes.
Use an instant-read thermometer inserted into the thickest part of the largest cheek, away from any bone.
The Classic Slow-Cooker Beef Cheek Recipe
Ingredients
The Meat:
- 3–4 lbs beef cheeks (about 6–8 pieces), trimmed of silver skin
- 2 tsp kosher salt
- 1 tsp freshly ground black pepper
The Aromatics:
- 1 large yellow onion, quartered
- 4 garlic cloves, smashed
- 2 medium carrots, cut into 2-inch pieces
- 3 sprigs fresh thyme
The Braise:
- 1 cup beef stock
- 1 cup red wine (Cabernet Sauvignon or Shiraz)
- 2 tbsp tomato paste
- 1 bay leaf
Instructions
Step 1: Sear Hard (Maillard Reaction)
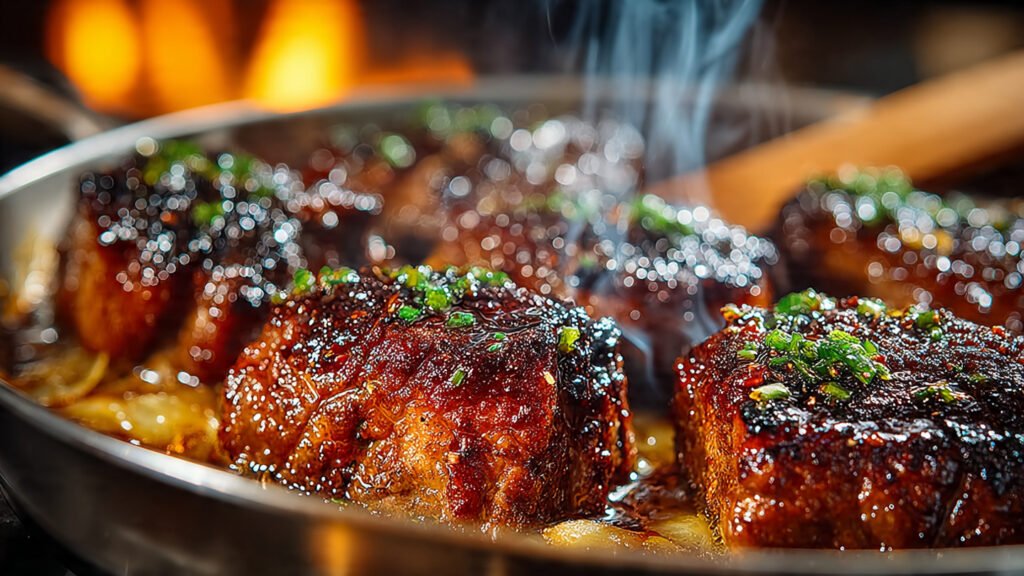
Deep sear creates the Maillard reaction essential for rich, complex flavor
Heat a large skillet over medium-high heat until smoking. Working in batches, sear each beef cheek 3–4 minutes per side until deeply browned. This isn’t about cooking through—it’s about flavor. The browning creates hundreds of new flavor compounds through the Maillard reaction.
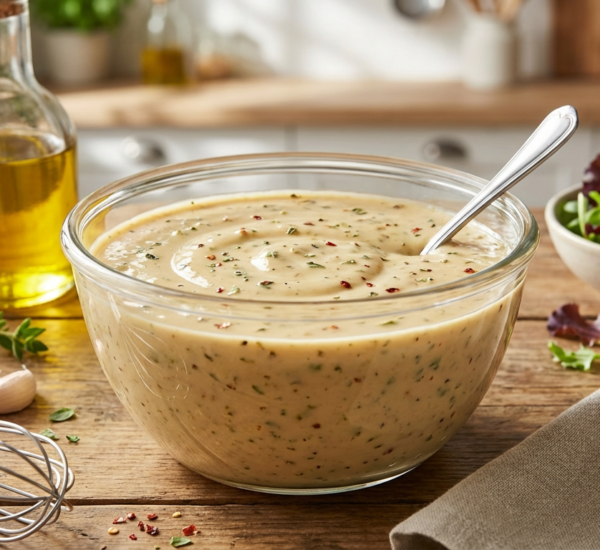
Step 2: Deglaze (Don’t Waste Flavor)
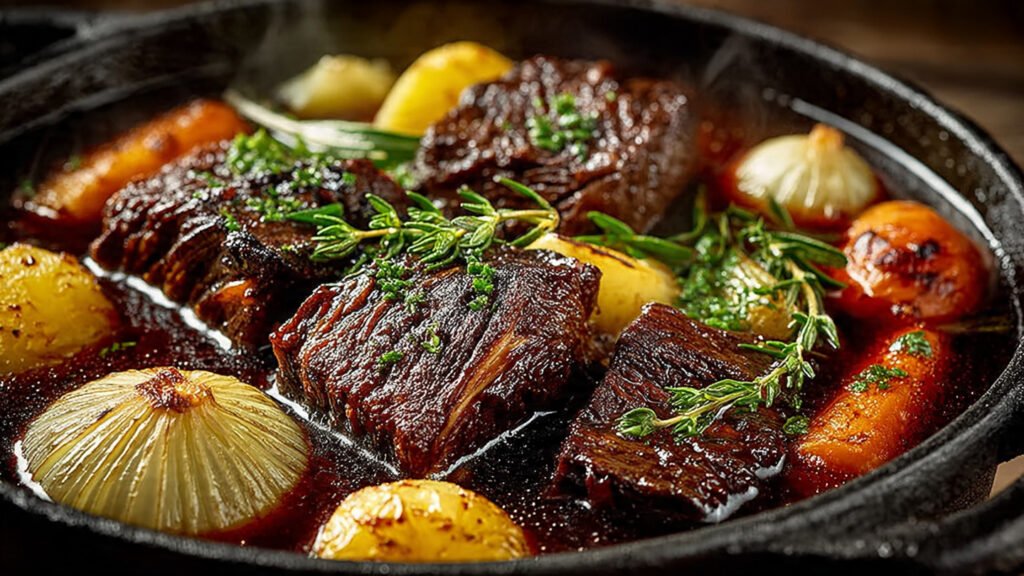
The perfect braise: aromatic vegetables, red wine, and beef stock ready for low & slow cooking
Remove the meat and set aside. Pour out excess fat, leaving about 1 tablespoon. Add onion, carrot, and garlic to the hot pan. Cook 3 minutes, stirring constantly. Add tomato paste and cook 1 minute more. Deglaze with red wine, scraping the bottom with a wooden spoon to release all those browned bits—that’s pure flavor going back into your dish.
Step 3: The Braise Transfer everything to a slow cooker. Add beef stock, bay leaf, and thyme. Nestle the seared beef cheeks on top. Cook on low for 8 hours, or on high for 4 hours, until a meat thermometer reads 205°F in the thickest piece.
Step 4: Rest and Reduce Remove beef cheeks and tent loosely with foil. Strain the braising liquid through a fine-mesh sieve, discarding solids. Skim off surface fat if desired (though some cooks keep it for richness). Return the liquid to the slow cooker on high, and let it reduce for 30 minutes until slightly thickened. Return the meat to the sauce.
Cooking Method Comparison: Choose Your Weapon
| Method | Time (Low) | Temperature Control | Best For |
|---|---|---|---|
| Slow Cooker | 8 hours | Excellent (set & forget) | Weeknight cooking, busy schedules |
| Dutch Oven (325°F) | 4–5 hours | Very good (monitor temp) | Faster results, stovetop convenience |
| Instant Pot | 60 minutes + 15 min natural release | Excellent (precise) | Urgent dinners, tight timelines |
| Low-Oven Roast (275°F) | 6–7 hours | Good (consistent heat) | Large batches, extra sauce |
Important note: Regardless of method, the beef cheek internal temp should reach 205°F. Cooking time varies, but temperature is non-negotiable.
The Sommelier’s Corner: Wine Pairing Mastery
Why do beef cheek recipes pair so well with specific wines? Because beef cheeks are rich and gelatinous—they coat your palate with fat and gelatin.
You don’t need just any red wine. You need high-tannin wines that literally “scrub” your palate clean between bites, preparing your taste buds for the next forkful of tender meat.
Top Pairings:
- Cabernet Sauvignon: Bold, structured tannins; aged oak provides warmth
- Shiraz/Syrah: Peppery spice complements savory beef; medium to high tannins
- Malbec: Argentine classic; full-bodied with enough acid to cut richness
- Nebbiolo: Italian powerhouse; high tannins and acidity; pairs beautifully with braised beef
Avoid: Pinot Noir (too delicate), Merlot (not enough tannin), Rosé (wrong profile entirely).
The wine you braise with should be the wine you drink—quality matters.
One Cook, Three Meals: The Efficiency Hack
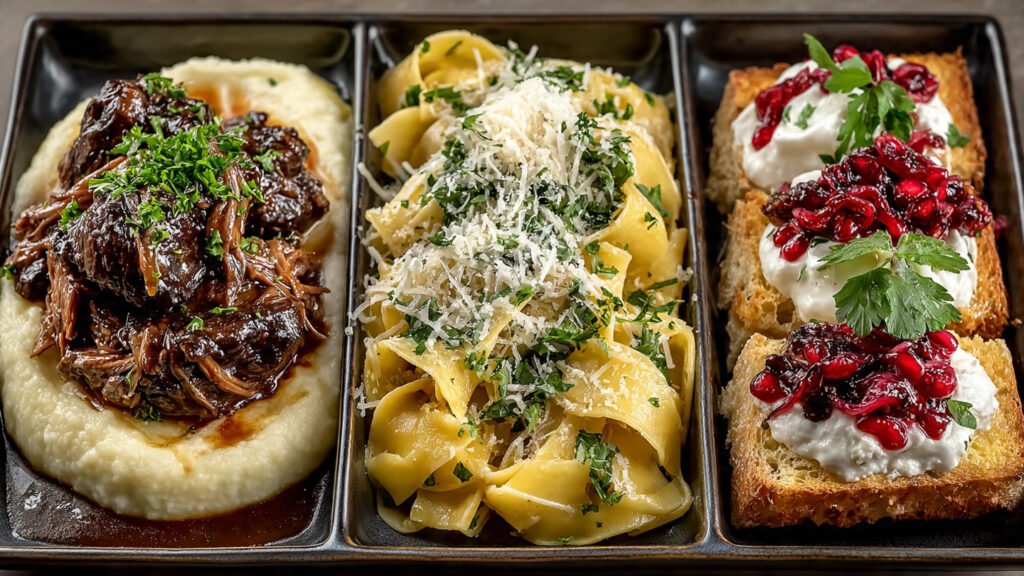
One cook, three nights: Classic braise, silky ragù, and elevated toast.
The real genius of beef cheek recipes isn’t the first night—it’s what you do with the leftovers. Make 1 batch and transform it into 3 completely different meals.
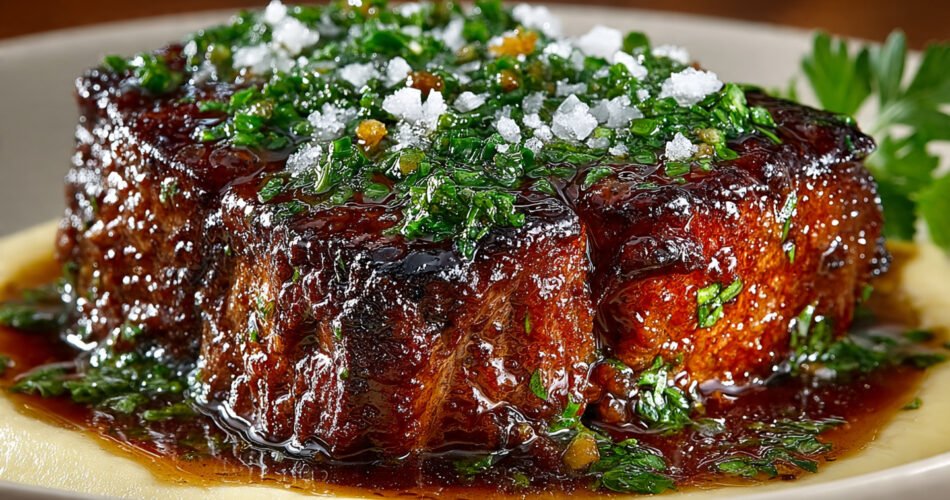
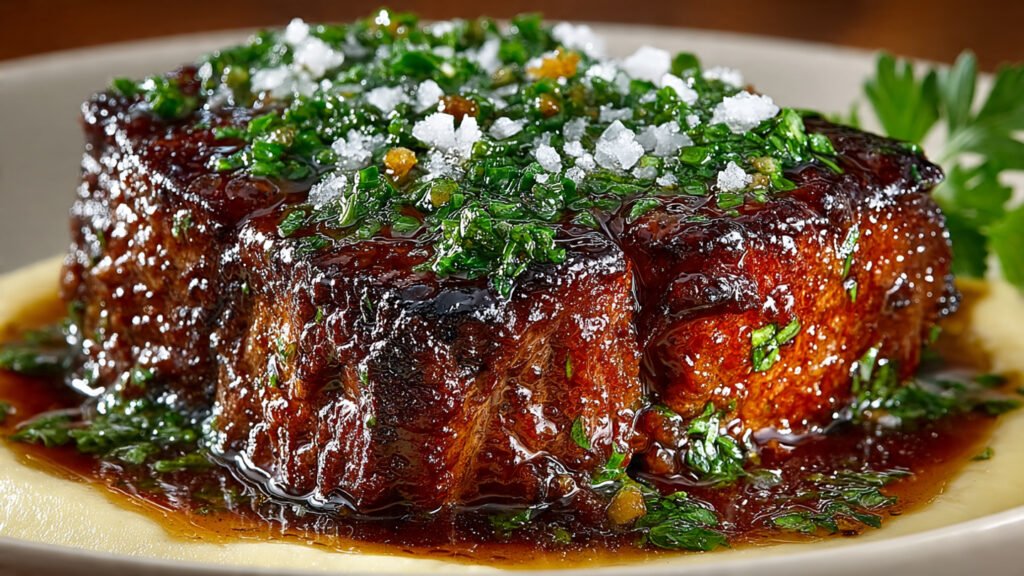
Night 1: The Classic
Serve the beef cheeks and braising liquid over creamy mashed potatoes. Garnish with fresh parsley. This is the “showstopper” meal—present it first when the flavors are most vibrant.
Night 2: The Ragu
Shred the leftover beef cheeks with two forks. Return to the braising liquid and simmer 10 minutes. Toss with fresh pasta (pappardelle or tagliatelle). Finish with Parmigiano-Reggiano and a crack of black pepper. The braising liquid becomes a silky sauce without any additional effort.
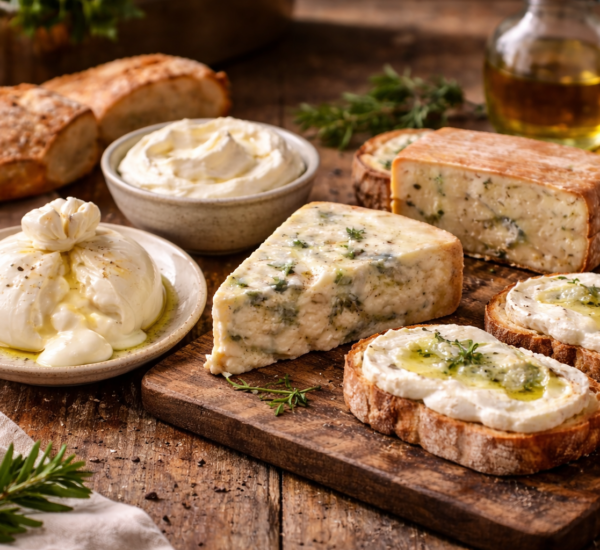
Night 3: The Fancy Toast
Shred remaining beef cheeks. Spread creamy burrata or ricotta on toasted sourdough bread. Top with shredded beef cheeks, a spoonful of braising liquid, and quick-pickled red onions. A crack of fleur de sel and a grind of pepper. Suddenly, lunch is elevated.
This approach transforms “leftovers” into intentional meal prep—and that’s the kind of efficiency that keeps people cooking.
The Fork Twist Test: How to Know When It’s Done

The fork twist test: Meat wrapping around the fork like spaghetti = perfectly cooked.”
Forget relying on time alone. The fork twist test is a simple, visual way to confirm your beef cheeks have reached the perfect texture.
How it works:
- Remove one beef cheek from the braising liquid
- Insert a fork into the thickest part
- Gently twist the fork
What you’re looking for: The meat should wrap around the fork like spaghetti noodles. If it shreds cleanly and winds around the tines, you’ve hit 205°F and collagen has fully converted to gelatin. If it resists or tears, you need more time.
This test works because it’s a tactile confirmation of what the meat thermometer shows numerically. Use both—the thermometer for precision, the fork test for confidence.
Beef Cheek Internal Temp: Why 205°F Matters
The difference between tough and tender beef cheeks comes down to one number: 205°F internal temperature.
- 160°F: The stall begins; collagen starts converting
- 185°F: Collagen conversion accelerates; meat is tender but not silky
- 205°F: Complete conversion; maximum gelatin; perfectly tender, slightly jiggly texture
- 210°F+: Overcooked; meat begins to dry out and lose its silky quality
Use a quality instant-read meat thermometer. Insert it horizontally into the thickest part, avoiding bone. Wait 3 seconds for an accurate reading. This single tool eliminates guesswork from beef cheek recipes.
Perfectly cooked at 205°F internal temperature: tender, gelatinous, restaurant-ready.
FAQ
Q: Why are my beef cheeks chewy? A: They didn’t reach 205°F internal temperature. Collagen requires both time and specific heat to convert to gelatin. If your meat is chewy after 6+ hours of cooking, increase the temperature slightly or extend cooking time until the thermometer reads 205°F.
Q: Can I freeze beef cheeks before cooking? A: Yes. Thaw completely in the refrigerator (24 hours) before searing. Frozen meat won’t brown properly.
Q: What if I don’t have red wine? A: Use beef stock or even a splash of apple cider vinegar, but the wine adds crucial depth. Don’t skip it without reason.
Q: How long do leftover beef cheeks last? A: Properly stored in an airtight container, 3–4 days in the refrigerator. Freeze in portions for up to 3 months.
Final Thoughts
Beef cheek recipes aren’t as intimidating as they sound. They’re actually more forgiving than fancy steaks—low, slow heat does the work for you. The only requirements are patience, a meat thermometer, and reaching that magical 205°F internal temperature where collagen becomes gelatin.
Start with the slow cooker version on a weekend. Observe the fork twist test. Taste the difference between undercooked and perfectly cooked. Once you master the science, you’ll understand why beef cheeks have become the secret weapon of home cooks and professional chefs alike.
Your next dinner is waiting.